
Okay, friends! It's officially FALL!!! You know what THAT means!
Yep! You guessed it!
Time to whip out the BURLAP!
(What, you didn't guess that?)
Anyhow, I originally saw this idea on Pinterest
(If you don't know what that is-shame on you-I mean, send me your email, and I'll invite you personally!) !)
It is from a shop on Etsy, and they sell for around 30 big ones!
I made mine for $15, and I have so much hemp and burlap left over I could go to TOWN!
Okay, so supplies used are:
Iron on t-shirt transfers (I used the kind for light fabric)
I bought 1 yard of burlap, and I have about 1/2+ yards left over
I bought medium grade hemp string-5 bucks for a LOT!
Glue gun and a stick.
You'll also need your computer, which if you're looking at this blog, I'm guessing you have one.
A printer with enough black ink.
Microsoft Word (mine is 2007, and I'll give you instructions based off of that version)
Now, don't freak out on me since I mentioned Microsoft Word and instructions.
I am LACKING when it comes to computer skills!!!
TRUST ME!!!
This will be the "For Dummies" version!
(not that y'all are dummies!)
Yep! You guessed it!
Time to whip out the BURLAP!
(What, you didn't guess that?)
Anyhow, I originally saw this idea on Pinterest
(If you don't know what that is-shame on you-I mean, send me your email, and I'll invite you personally!) !)
It is from a shop on Etsy, and they sell for around 30 big ones!
I made mine for $15, and I have so much hemp and burlap left over I could go to TOWN!
Okay, so supplies used are:
Iron on t-shirt transfers (I used the kind for light fabric)
I bought 1 yard of burlap, and I have about 1/2+ yards left over
I bought medium grade hemp string-5 bucks for a LOT!
Glue gun and a stick.
You'll also need your computer, which if you're looking at this blog, I'm guessing you have one.
A printer with enough black ink.
Microsoft Word (mine is 2007, and I'll give you instructions based off of that version)
Now, don't freak out on me since I mentioned Microsoft Word and instructions.
I am LACKING when it comes to computer skills!!!
TRUST ME!!!
This will be the "For Dummies" version!
(not that y'all are dummies!)
 First things first. You'll want to open up Microsoft Word and choose your favorite font.
I used "Elephant" here.
Click "Insert" and then "Word Art."
I choose the straightest and flattest word I could find.
When you click on your choice, a box will come up.
Type your first letter in this box and choose your font (don't worry about font size at this point)
Next you'll want to click on "Shadow Effects" and click "No Shadow Effect."
Under "Word Art Styles," You'll click "Shape Fill" and choose black.
Next, under the "Size" box, you'll make the vertical size 2" and the horizontal size 2.3".
Final step: In the "Arrange" box, scroll over the items until you see the "ROTATE" one!
Click on the "Rotate" button and click "Flip Horizontal."
(You have to print these off backwards because you're doing an iron on! And, NO, you do NOT have to do this for letters like "T," but it's just easier to do it for the first letter and then you just have to change the letter each time by clicking "Edit Text."
Print off one letter at a time (or more if you're a computer expert).
Do a little cheer because you made it through the computer part! !)
Feel completely competent print off an extra "S" and iron it on a cape for yourself.
NEXT! Onto the BURLAP!
First, you have to make yourself a template.
I folded an 81/2x11" paper, measured 2.5" from the "seam" and 7" down the seam.
Draw a straight line and cut your triangle out.
 See? Easy Breezy!
Okay, so burlap, um, MOVES a lot?
So, I sort of tried to find a line to line my stencil up with, and leaving a 1" border at the top, I just did a little zigzag with the pattern. (See? I have 6 triangles here)

Cut those suckers out, leaving the straight, 1" border at the top.
Position your iron ons after you have cut them CLOSE to the ink!
And, iron it, girl!
IRON!
(follow directions on the t-shirt transfer box)

Next, fold that 1" border over and iron and steam the livin' daylights out of it!
(but don't get that letter under that heat or steam!)
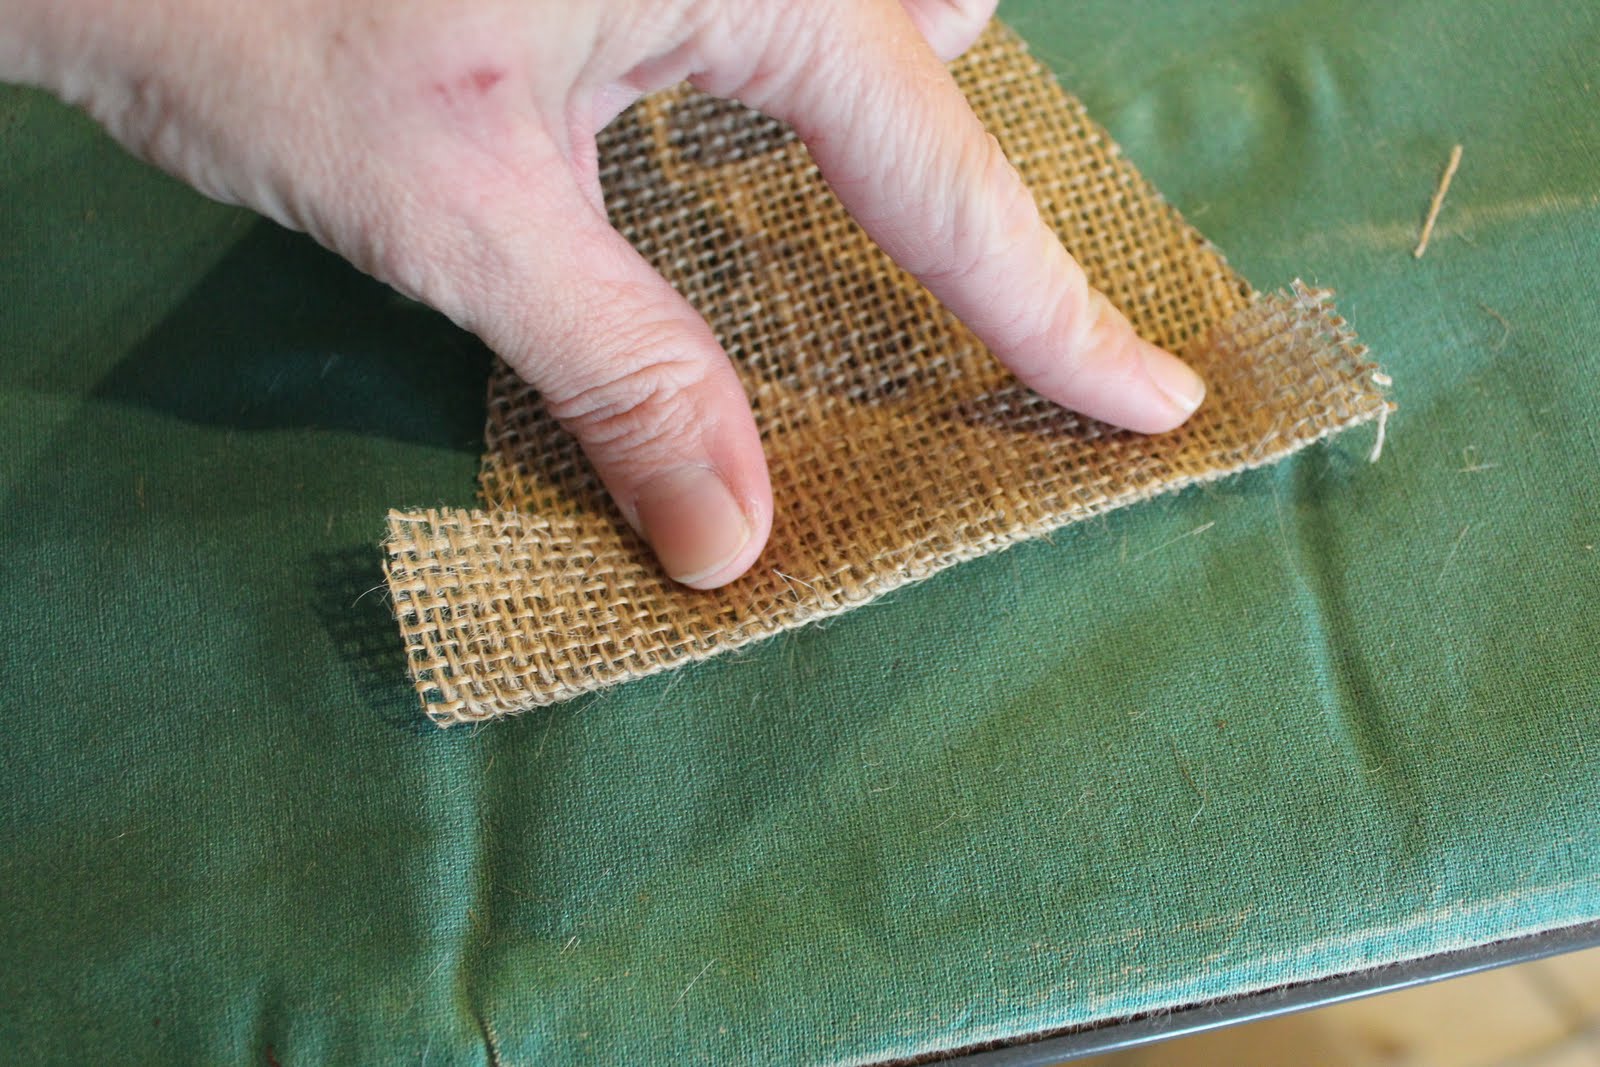
You'll need to trip up the back so it doesn't show.
 You can start giving thanks, because you're almost finished!
Heat that hot glue gun up, girls!
Take your hemp string, and place it in that fold you just ironed.
Put a thin strip of hot glue all the way along that bottom part where my thumb is.
All the way along.
Fold the top back over and press!
Take your hemp string, and place it in that fold you just ironed.
Put a thin strip of hot glue all the way along that bottom part where my thumb is.
All the way along.
Fold the top back over and press!

Hang that banner with pride!

Happy Fall, Y'all!


